
This weaving lesson episode is audio. Winter Weave Along 3 will be an accompanying pdf. If your podcast app doesn't deliver the pdf, click here for Winter Weave Along 3. Also be sure to visit the Winter Weave Along thread in the Two Ewes group on Ravelry.
This audio episode was recorded "on location" in Marsha's weaving studio (aka dining room) in Seattle. The Ewes talk about Marsha's first weaving project from start to finish. As a beginner, Marsha asks questions and provides insights into the experience.
Here are some photos of the experience.
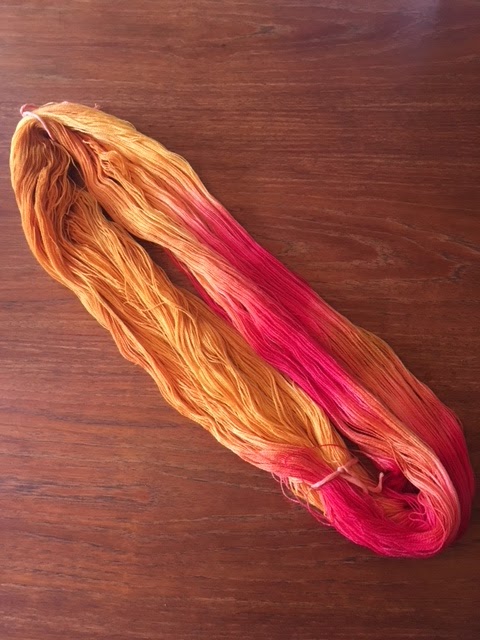
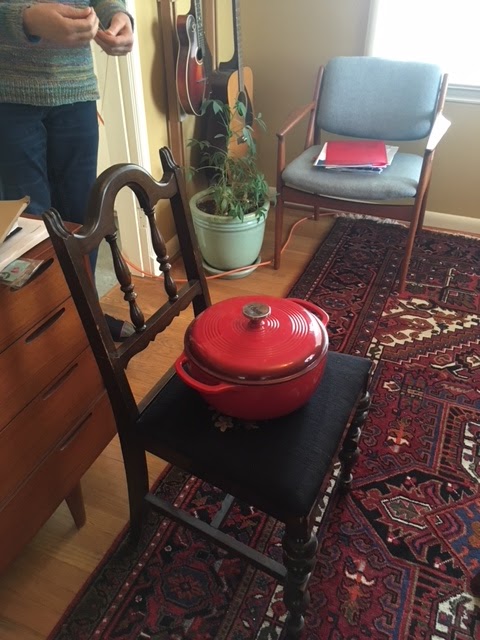
Marsha wasn't too thrilled with this yarn and it almost got destashed. But it was the weight we were looking for...lace weight for her 12 DPI reed.
Here we are weighting down the chair that we are about to use for winding warp.
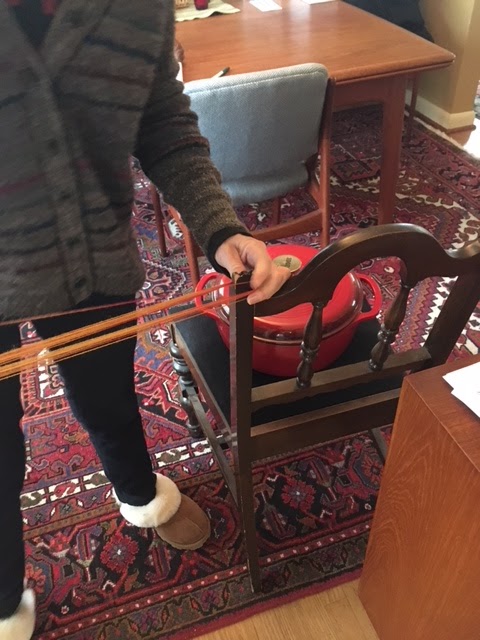
Here is the other side of what we used for warping. Necessity is the mother of invention!

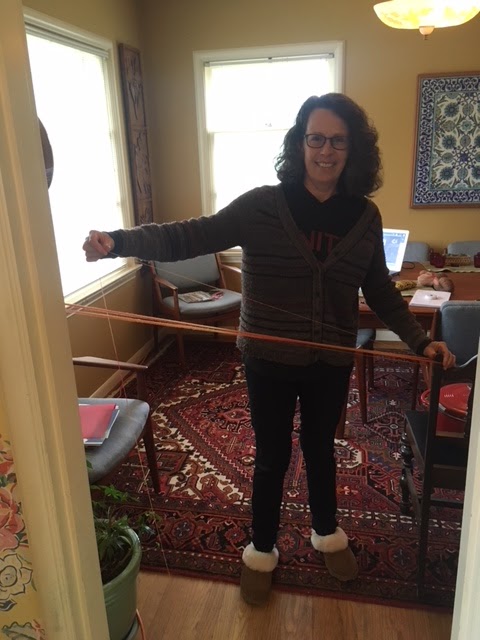
We only warped 40 threads at a time, so 20 times around our "pegs." We didn't have a cross in this warp so we didn't want too many threads at a time. We didn't want them to get tangled.
Notice how we tied the reed so it is stable between the castle and the front of the loom.
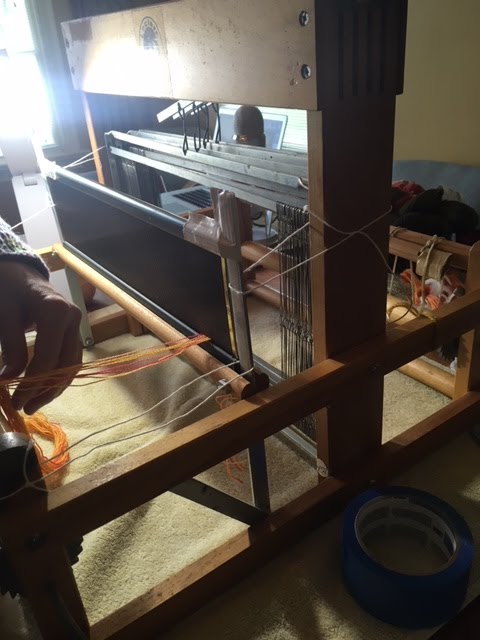
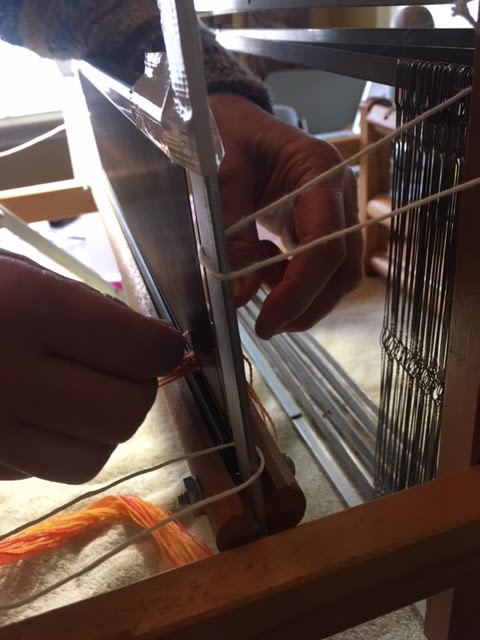
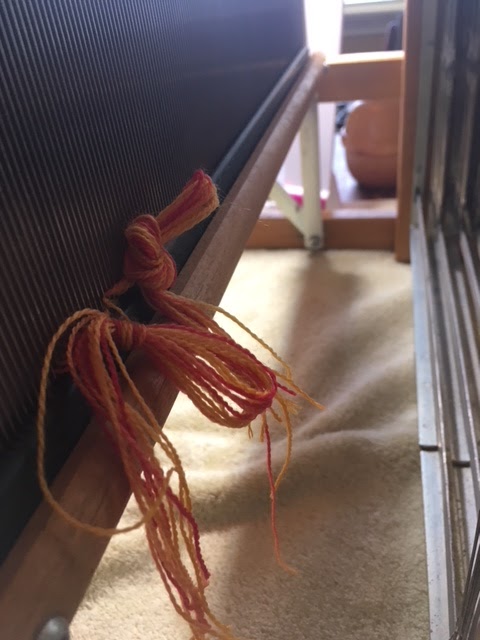
Don't forget to knot your warp groups to keep them from pulling out of the reed!
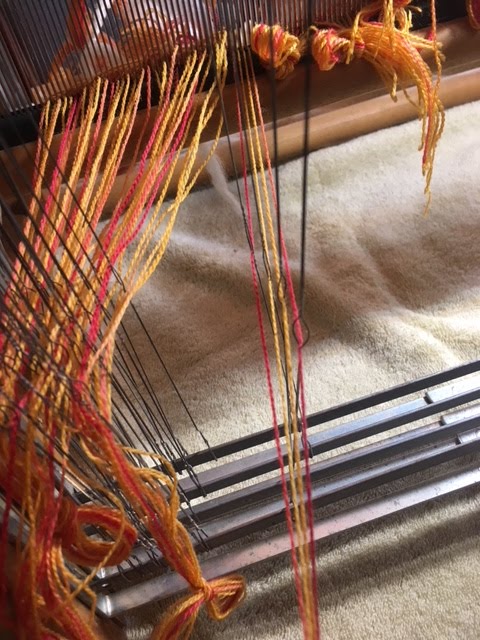
After threading through the reed we threaded the heddles in straight draw, i.e. 1 through the first harness, one through the second, one through the third, one through the fourth, then repeat all the way across.

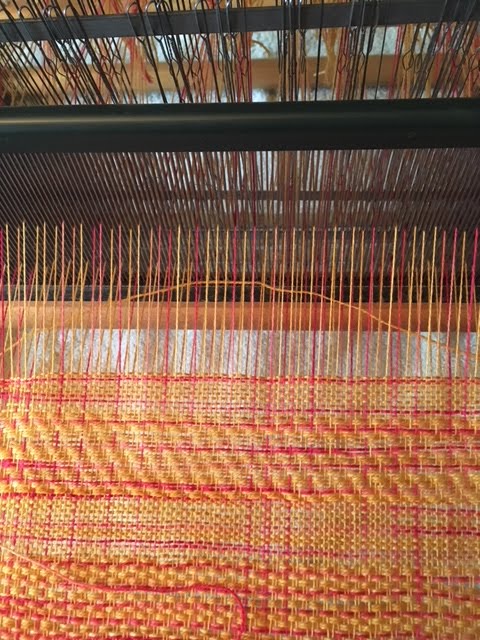
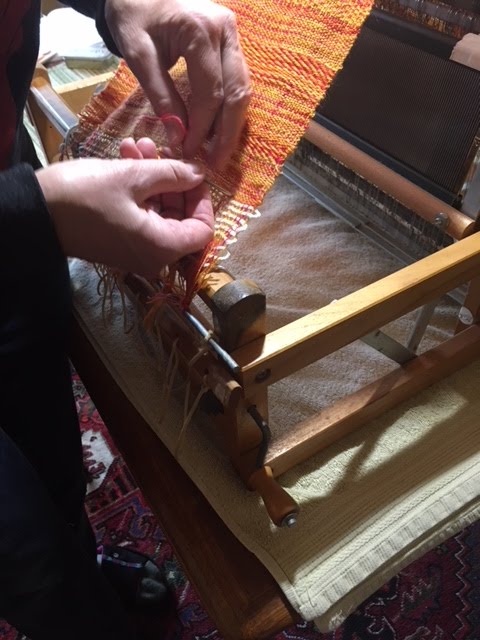
We double checked often for threading errors or crossed threads. Once we were done threading, we tied on, wound onto the back beam and then tied the ends onto the front apron rod. Then we were ready to weave (although we should have done some hemstitching first). Notice the way the warp thread is placed into the shed. It can be done like this convex shape or in a diagonal line up toward the harnesses. This allows room for the yarn to curve around the warp threads and helps prevent the drawing in that can occur on the edges.
Once finished we hemstitched the edge that was showing and then went back to hem the other side. It would have been much easier to do at the beginning!
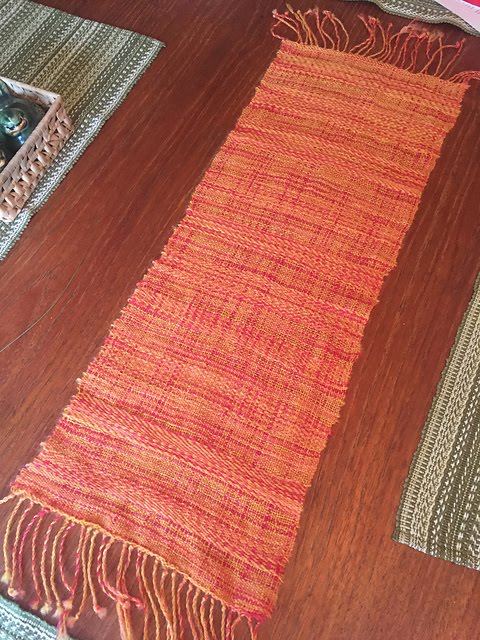
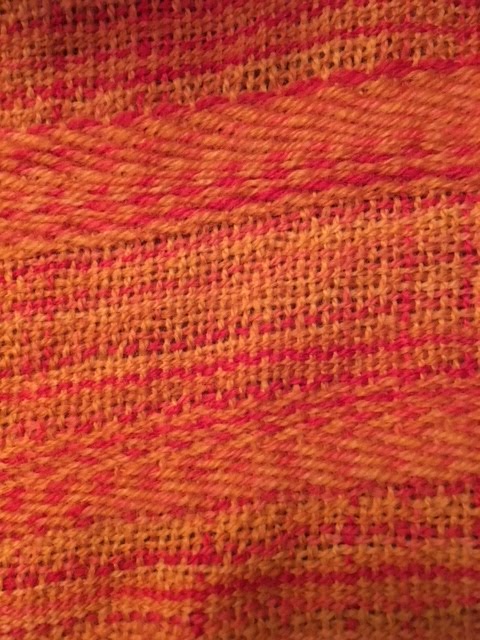
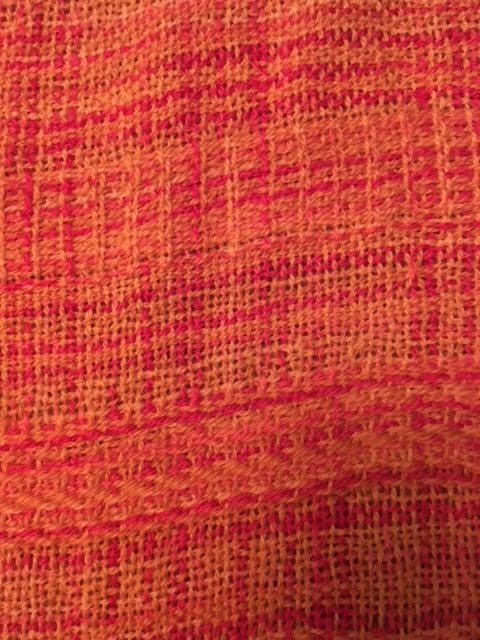
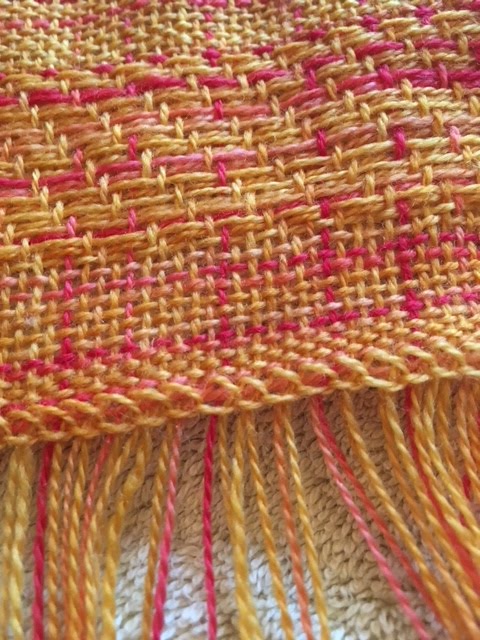
Here is the finished fabric before washing. It is a little too "sleazy." Did you know that's actually a weaving term for fabric that is too loosely woven or sett.

Marsha decided to use fringe instead of a hem. This is her hem-stitching.
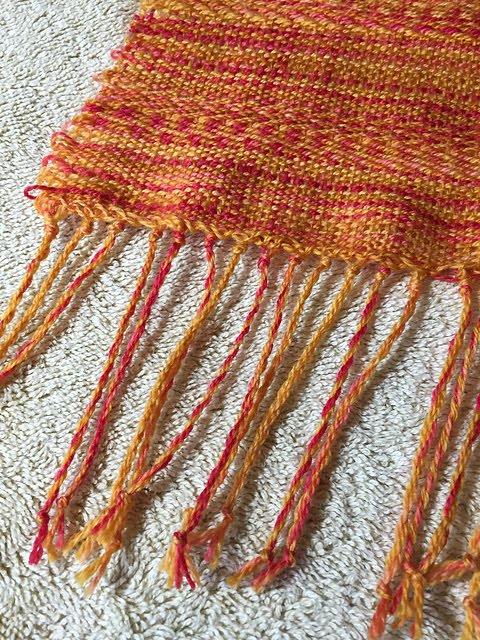
Here is the finished product after a vigorous washing to slightly full it.